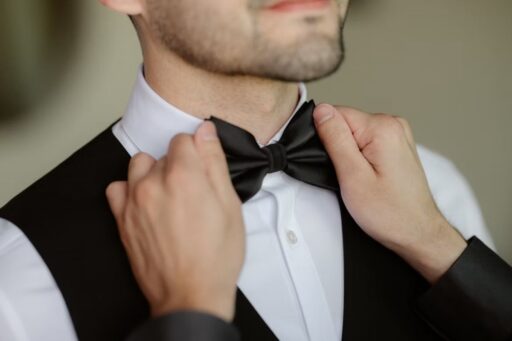
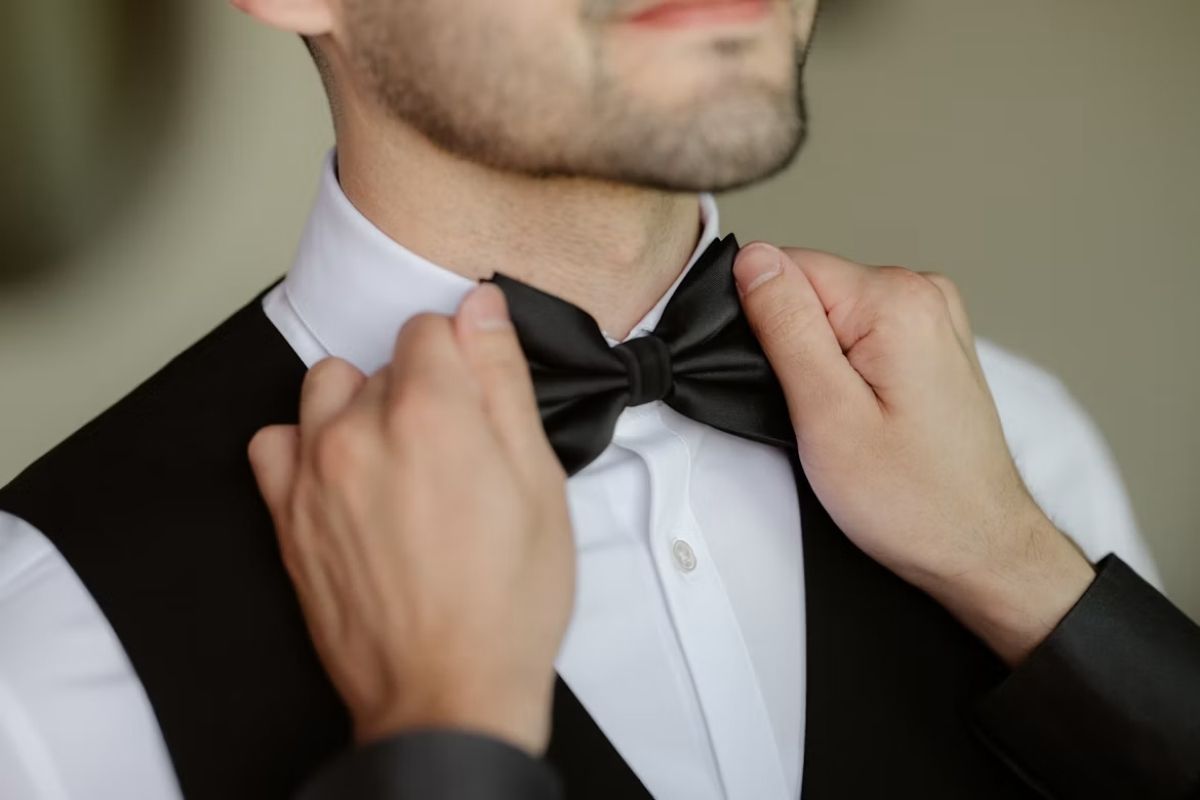

A bow tie can complete a formal outfit, but the self-tie version takes a little practice. This guide explains how to tie a bow tie step by step, then shows how to adjust the knot and choose between self-tie and pre-tied styles.
Before You Start: Adjust Your Bow Tie
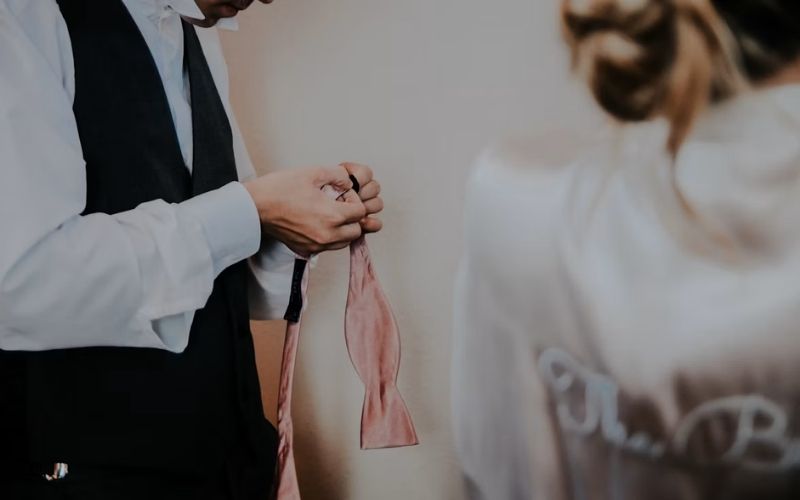
Before you tie a self-tie bow tie, set its position and length around your neck. Button your top shirt button and turn your collar up before placing the bow tie around your neck.
- Set the length: Position one end about 2 inches lower than the other.
- Match your dominant hand: Let the longer end hang on the side that matches your dominant hand.
- Center the tie: Position the bow tie evenly around your neck and keep the longer end on your dominant-hand side.
- Keep the collar up: Leave your collar raised while you tie the bow, then fold it down when the knot is complete.
How to Tie a Bow Tie: 7 Steps
Once the bow tie is positioned around your neck, follow these steps to form and secure the knot. Keep the fabric centered as you work so the finished bow sits evenly.
- Step 1: Cross the longer end over the shorter end
Bring the longer end across the shorter end, then pass it underneath and back over the top. Pull it snug enough to hold the position.
- Step 2: Fold the shorter end into a bow
Fold the shorter end back toward the center to create the first bow shape. Hold this fold in place and keep the center aligned with the narrow part of the tie.
- Step 3: Bring the longer end over the bow
Take the longer end behind the first bow, then bring it over the center of the bow. Keep it flat as it crosses the middle.
- Step 4: Fold the longer end into a second bow
Fold the longer end back on itself to form the second side of the bow. Match its general shape with the first side.
- Step 5: Push the second bow through the center
Bring the second bow behind the first one, then push the folded section through the opening in the middle behind the front bow.
- Step 6: Tighten the two sides
Bring the folded section through the opening behind the front bow until both sides of the bow are formed.
- Step 7: Set the finished bow
Pull the bow loops in opposite directions to bring the knot together and hold the bow in place.
A ribbon bow follows a similar loop-and-tighten concept, but how to tie a ribbon bow depends on the ribbon and where you plan to use it.
A dress sash is different because the bow becomes part of the garment, so how to tie a bow on a dress focuses on securing and shaping the sash.
>>> Read more: How to Sew on a Button: A Beginner’s Guide for Any Garment
How to Tighten and Adjust a Bow Tie
Once the knot is formed, use small movements to set the final position. Pull the folded loops gently to tighten the bow. If the knot needs repositioning, pull the flat ends slightly instead of forcing the loops.
Adjust one side at a time so you can keep the bow balanced. Center the knot between the collar points, then check that both loops have a similar shape.
The finished bow should feel secure around your neck without pressing uncomfortably against it. Once the knot feels secure and the bow sits correctly, lower your collar over the finished bow tie.
The same loop-and-fold principle applies to how to tie a bow with ribbon, but the two techniques differ in how the bow is secured. A ribbon bow relies on the ribbon ends and center knot, while a bow tie uses its neckband to hold the finished shape.
Common Bow Tie Problems and How to Fix Them
Small adjustments can usually improve the shape without repeating how to tie a bow tie from the start. Check the position of the loops and the center knot before making another adjustment.
| Problem | What to do |
| One loop looks larger | Pull the smaller loop outward slightly and reshape both sides. |
| The bow sits off center | Move the knot gently until it sits between the collar points. |
| The knot feels loose | Pull the folded loops toward opposite sides to tighten the center. |
| One end looks longer | Adjust the flat ends gradually until the bow looks balanced. |
| The bow loses its shape | Reshape each loop with your fingers, then tighten the center again. |
If the bow still feels uneven, loosen the knot slightly and reshape it rather than pulling hard on one section. A few small adjustments usually give you more control over the final shape.
Self-Tie vs. Pre-Tied Bow Tie: What’s the Difference?
The main difference is how the bow is formed before you put it on. A self-tie bow tie starts untied, while a pre-tied version already has the bow formed. A clip-on style attaches directly to the collar.
| Type | How It Works | Best For |
| Self tie | You tie it yourself | Traditional, personalized appearance |
| Pre tied | Knot is already formed | Convenience |
| Clip on | Clips directly to collar | Fastest and easiest option |
For formal events such as weddings, galas, and black-tie occasions, a self-tie bow tie suits a traditional look. A pre-tied style works well when convenience matters, while a clip-on bow tie can suit children or anyone who prefers quick, simple dressing.
>>> Read more: How To Remove Makeup Properly: 7 Simple Steps for Healthy Skin
FAQs
These quick answers address common questions about how to tie a bow tie and its fit, use, and final adjustments.
Are bow ties easy to tie?
Yes, a self-tie bow tie becomes easier with practice. The basic process uses a few repeated folds and pulls, so beginners can learn the sequence with regular practice.
How should a bow tie fit around your neck?
A bow tie should sit comfortably against your neck without pressing tightly. The finished knot should stay centered between your collar points.
How do you keep a bow tie from coming undone?
Tighten the folded loops after forming the knot, then make small adjustments to secure the center. A properly tightened bow should stay in place while remaining comfortable around your neck.
Conclusion
How to tie a bow tie becomes straightforward once you know the order of each step and how to set the final shape. Practice the knot before a formal event, then check the fit and center the bow between your collar points.
For more practical guides and useful tips, Zeolearn has more helpful content to explore.