
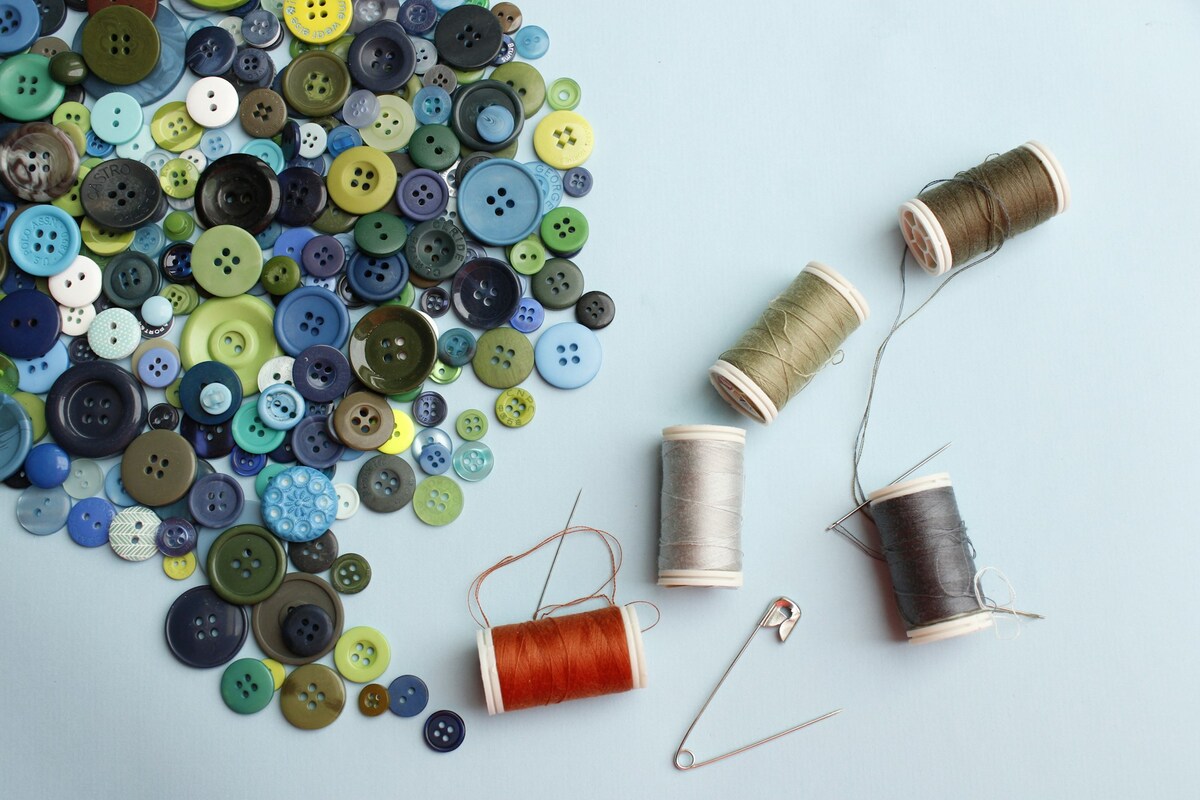

Learning how to sew on a button by hand is a simple but essential skill for repairing shirts, jackets, pants, and other clothing with button closures.
Once you learn the basics, sewing on a button becomes a quick and reliable repair for almost any garment. Proper thread tension and secure stitching help keep the button firmly in place.
Before You Sew on a Button
Proper preparation helps the button stay secure and prevents common sewing problems like loose stitching or fabric strain.
What You Need
- Matching thread
- Needle suited to the fabric thickness
- Replacement button
- Small scissors
Choose the Right Thread, Needle, and Button
- Light fabrics and shirts: Fine thread (50–60 weight) with a smaller needle (70–80 size)
- Heavy fabrics and coats: Stronger thread (30–40 weight) with a larger needle (90–110 size)
If replacing a lost button, match the:
- Size
- Thickness
- Number of holes
A mismatched button can cause pulling or gaps around the buttonhole.
Prepare the Thread
A thread shank creates a small gap between the button and fabric, allowing the buttonhole side to fit comfortably without stressing the stitches.
Cut about 45 cm of thread to reduce tangling. Thread the needle evenly and tie a small double knot at the end.
>>> Read more: How to Waterproof Boots: A Complete Guide by Boot Type
How to Sew on a Button Step by Step
With the materials ready and the position marked, the sewing itself follows a clear sequence. Work methodically through each step rather than rushing, particularly the wrapping and knotting stages.
Step 1: Sew Two-Hole and Four-Hole Buttons Correctly
For a two-hole button:
- Bring the needle up through the fabric and through one hole of the button, then back down through the second hole and into the fabric.
- Repeat this pass six to eight times. The passes build thickness that holds the button firmly.
- Keep a toothpick or pin placed flat across the button between the two holes as you sew to maintain the shank space.
For a four-hole button, you have two sewing patterns.
- The parallel pattern (stitches going through holes 1 and 2, then 3 and 4) is the most common.
- The cross pattern (stitches going diagonally across the button) is stronger for heavy fabrics.
Step 2: Wrap and Secure the Thread Properly
After the final pass, bring the needle up through the fabric but not through any button hole.
Remove the toothpick or pin. Hold the button away from the fabric to keep the shank space open.
Wrap the thread firmly around the threads between the button and the fabric six to eight times. This wrapping creates the shank column.
Step 3: Test the Button Before Wearing the Garment
An important part of learning how to sew on a button is testing the repair before wearing the garment. Button and unbutton the closure several times using firm pressure.
If the thread shank collapses or the button shifts, the stitching on the reverse side is not secure enough.
Redo the knotting rather than hoping it holds in use. A button that survives ten firm test passes will hold through normal wear.
How to Sew Buttons on Different Types of Clothing
The core technique is the same across all garments, but two specific contexts need adjustment.
How to Sew a Button on a Shirt
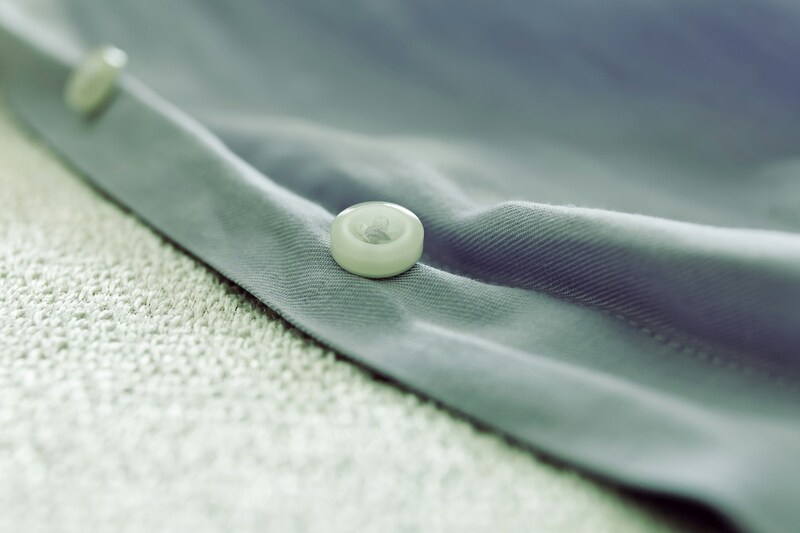
When learning how to sew on a button for a shirt, it is important to use the right needle and thread to avoid damaging the lightweight fabric. Shirt material is thin, and the buttons are usually smaller than those used on coats or trousers.
Use a fine needle (size 70 to 80) and polyester or cotton thread in the same weight as the original. The shank on a shirt button should be minimal, around 2 mm, because shirt fabric is thin and the buttonhole panel is not thick.
Pass the thread through each hole six times on a shirt button. More than this creates excess bulk on the reverse side that can be felt against the chest. Fewer than six risks the button pulling loose after washing, which repeatedly stresses the attachment.
How to Sew a Button on Pants or Jeans
Trouser and jeans buttons deal with significant tension from the waistband pulling against the closure. Use a heavy-duty thread and a large needle that can penetrate denim without bending.
Reinforce the back of the fabric with a small backing button or a folded scrap of interfacing directly behind where the needle passes. This distributes the load across a wider area and prevents the thread from eventually cutting through the fabric.
Pass through eight to ten times for trouser buttons. The shank should be longer than for a shirt, around 4 to 5 mm, to accommodate the denim thickness when the waistband is closed.
>>> You might be interested in: How to Wash Wool Sweater: Full Step-by-Step Guide
FAQs
How Many Times Should You Pass the Thread Through to Secure a Button?
For most shirts and lightweight garments, 6–8 passes through the button holes are usually enough. Heavier items like coats, jeans, or trousers often need 8–10 passes for extra durability. Too few stitches can cause the button to loosen, while too many can create bulky stitching on the inside of the fabric.
What Kind of Thread Is Best for Sewing on a Button?
Polyester thread is the most durable and least affected by washing and humidity. Cotton thread is appropriate for natural fiber garments where some give is preferable to strength. Avoid silk thread for buttons as it is too fine for the stress button closures experience.
Can You Sew a Button on With a Sewing Machine?
Yes, for flat buttons on a machine with a zigzag stitch. Lower or cover the feed dogs, attach a button foot, set the stitch width to match the distance between the button holes, and stitch in place rather than forward.
How Do You Sew on a Shank Button Differently From a Flat Button?
A shank button has a loop or protrusion on the back instead of holes through the face. Sew through the shank loop rather than through holes in the button. Pass the thread through the shank loop and down through the fabric six to eight times.
Bottom Lines
Knowing how to sew on a button correctly means understanding three things: anchoring the thread properly, maintaining the right shank length for the fabric thickness, and passing through enough times to hold under real stress.
The technique is the same whether you are replacing a shirt button or reattaching a coat closure. Once it is in your hands, it takes about five minutes. And the button will hold until the garment wears out, not until the next wash.