

Acrylic nails often stay flawless until the moment they start lifting. A corner catches on fabric. One nail feels loose. Suddenly, removing them at home seems faster than booking an appointment.
This guide breaks down how to remove acrylic nails, safer methods to try at home, ways to reduce damage, and what to do afterward so natural nails recover more easily.
Why Acrylic Nail Removal Can Damage Natural Nails
Acrylic adheres strongly to the nail surface. When acrylic lifts unevenly or gets peeled away forcefully:
- Nail layers may separate
- Moisture decreases
- Surface roughness increases
- Weakness becomes more noticeable
Damage often develops because natural nails lose protective layers during removal. That partly explains why how to safely remove acrylic nails focuses on patience rather than speed.
How to Remove Acrylic Nails Step by Step
Removing acrylic nails becomes easier when the process prioritizes gradual softening instead of force.
Step 1: Shorten acrylic length carefully
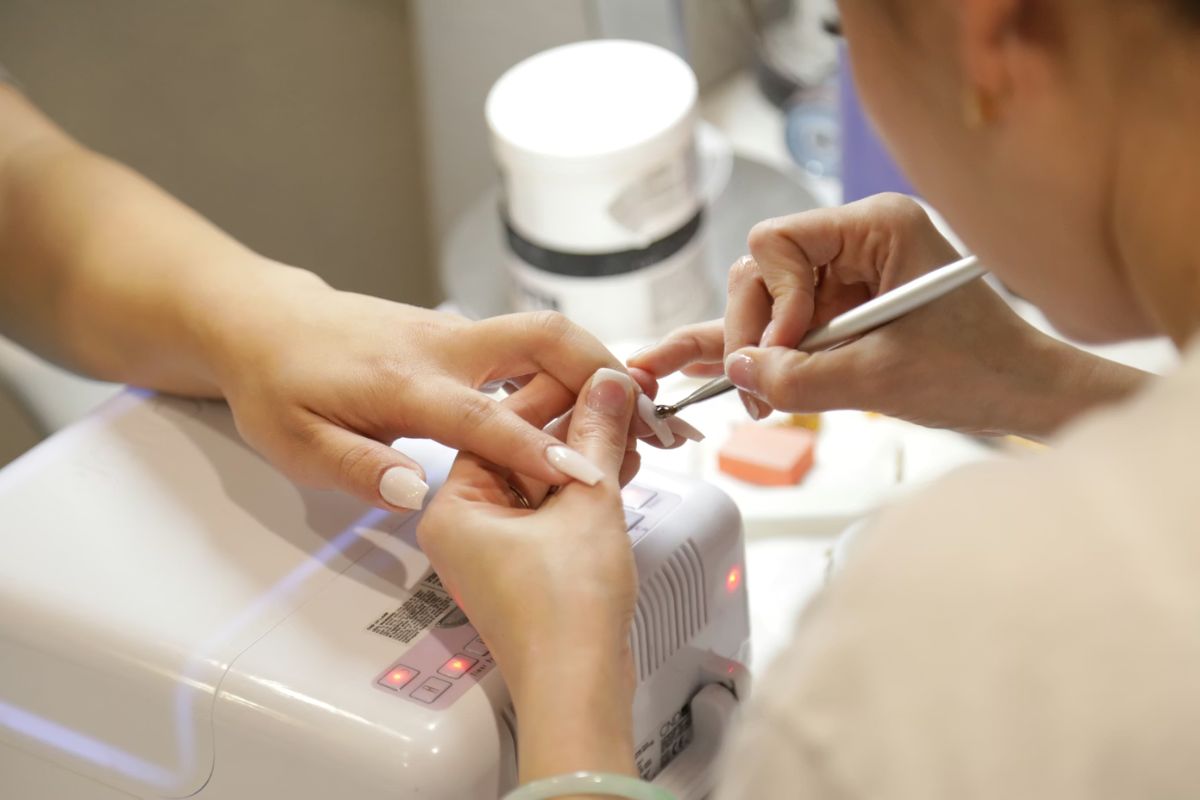
Begin by trimming excess acrylic length using nail clippers suitable for thicker nails. Shorter acrylics place less pressure on the natural nail during removal, making later steps easier and reducing the chance of accidental lifting or tearing.
Step 2: File surface layers to reduce thickness
Use a coarse nail file to remove the shiny top layer and gradually thin the acrylic. Filing helps soaking methods work more effectively because liquid reaches deeper layers faster. Work slowly to avoid creating heat or excessive friction.
Step 3: Soften acrylic using soaking methods
Soak nails using acetone or alternative methods until the acrylic begins loosening naturally. This stage often requires patience because partially softened acrylic may still cling strongly. Waiting longer usually causes less damage than forcing removal.
Step 4: Remove loosened product gradually
Once acrylic starts lifting, gently push or remove softened sections little by little. If resistance remains, continue soaking instead of pulling. That partly explains why how to remove acrylic nails often depends more on patience than technique alone.
Step 5: Hydrate and strengthen nails afterward
After removal, apply cuticle oil, hand cream, or strengthening treatments to help restore moisture. Nails sometimes feel thinner or more sensitive temporarily, making hydration important during recovery.
>>> Read more: How to Fix Frizzy Hair & Get Smoother Results 2026
Ways to Remove Acrylic Nails at Home
Different methods work depending on available tools, sensitivity, and acrylic thickness, which partly explains why how to remove acrylic nails may vary from one person to another.
Removing acrylic nails with acetone
Acetone remains one of the faster approaches because it breaks down acrylic more effectively.
Typical process:
- File surface layers
- Soak cotton with acetone
- Wrap nails with foil
- Wait before checking softness
However, acetone may increase dryness afterward, making hydration important.
Removing acrylic nails without acetone
People exploring how to remove acrylic nails without acetone sometimes prefer warm oils or extended soaking methods.
These approaches may feel gentler but often require:
- More time
- Repeated soaking
- Greater patience
Slower does not always mean ineffective.
Removing acrylic nails without professional tools
Understanding how to remove acrylic nails at home without tools often means working with:
- Warm water
- Nail files
- Oils
- Household foil
Results vary because thicker acrylic may remain difficult to loosen without stronger methods. Patience becomes especially important here.
How to Protect and Strengthen Nails After Acrylic Removal
Removing acrylics is only part of recovery, which partly explains why remove acrylic nails also includes protecting natural nails after the acrylic comes off.
- Restore moisture with oils and creams
After acrylic removal, nails and surrounding skin often feel drier because soaking methods and filing reduce moisture. Applying cuticle oil, hand cream, or nail treatments regularly may help improve flexibility and reduce the tight, rough feeling that sometimes follows removal.
- Avoid weakening nails further
Natural nails may stay more sensitive for several days afterward. During this time, reducing excessive filing, harsh cleaning products, or immediate reapplication of acrylics may help prevent additional stress while nails recover.
- When to wait before getting acrylics again
The right timing depends on how nails feel after removal. If nails appear thin, brittle, or sensitive, allowing recovery time before new acrylics may support healthier long-term wear. Stronger nails often handle future applications more comfortably.
>>> Read more: How to Clean Leather Couch: Real, Faux, and Natural Methods
FAQs
What is the safest way to remove acrylic nails?
The safest method usually involves filing, soaking, and gradual removal without pulling, which partly explains why how to remove acrylic nails focuses on softening acrylic before trying to lift it.
How long does acrylic removal usually take?
Removal commonly takes 30-60 minutes or longer, depending on thickness, method, and whether acetone is used.
Why do nails feel weak afterward?
Nails may feel weaker because moisture decreases and surface layers experience stress during removal. Hydration often helps improve recovery over time.
Final Thoughts
Learning how to remove acrylic nails often starts with wanting the quickest solution, especially when lifting or damage becomes noticeable. Yet healthier nails usually recover better through slower removal, consistent moisture, and fewer harsh shortcuts.
Protecting nail health during the process is usually easier than repairing unnecessary damage afterward.