Most cooking mistakes come not from bad technique but from guessing. A meat thermometer removes the guesswork entirely. It tells you the internal temperature so you know exactly when meat is safe to eat and at peak texture, not a moment before or after.
This guide covers how to use a meat thermometer for every situation you will encounter in a home kitchen, from a thick ribeye to a whole roast chicken.
How to Use a Meat Thermometer: The Basics First
Before getting into specific cuts, it helps to understand the three fundamentals that apply to every situation. Get these right and every reading you take will be reliable.
Where to Insert the Thermometer for an Accurate Reading
Placement is everything. The goal is the thickest part of the meat, away from bone, fat, and gristle. These materials conduct heat differently from muscle tissue and will give you a false reading.
For most cuts, that means the geometric center of the thickest section. For a chicken breast, it is the deepest point of the breast, not the surface. For a whole bird, it is the thickest part of the inner thigh, away from the bone.
How Deep to Insert It and What to Avoid
Most instant-read thermometers need to be inserted at least half an inch into the meat to reach the sensing zone. Some models have the sensor right at the tip.
Others have it an inch up the probe. Check your thermometer’s manual to confirm where the sensing area begins.
Avoid touching bone during the read. Bones heat faster than meat and can show temperatures 10 to 15 degrees higher than the actual meat temperature. Pull back slightly if the probe contacts bone.
How Long to Leave It In Before Reading the Temperature
When learning how to use a meat thermometer, timing matters just as much as placement. Instant-read thermometers typically take 2 to 5 seconds to stabilize, while leave-in probes are designed to stay in throughout the cooking process.
For instant-read models, avoid pulling the probe out too quickly. Hold it steady until the temperature reading stops changing.
After removing meat from the heat, wait about 30 seconds before checking the temperature. This helps provide a more stable reading than one taken while the pan is still actively heating.
>>> You might be interested in: How to Clean a Coffee Grinder: Easy Steps for Every Type
How to Properly Use a Meat Thermometer for Different Cuts
Technique changes depending on the shape and thickness of what you are cooking. Here is how to adapt your approach to the most common situations.
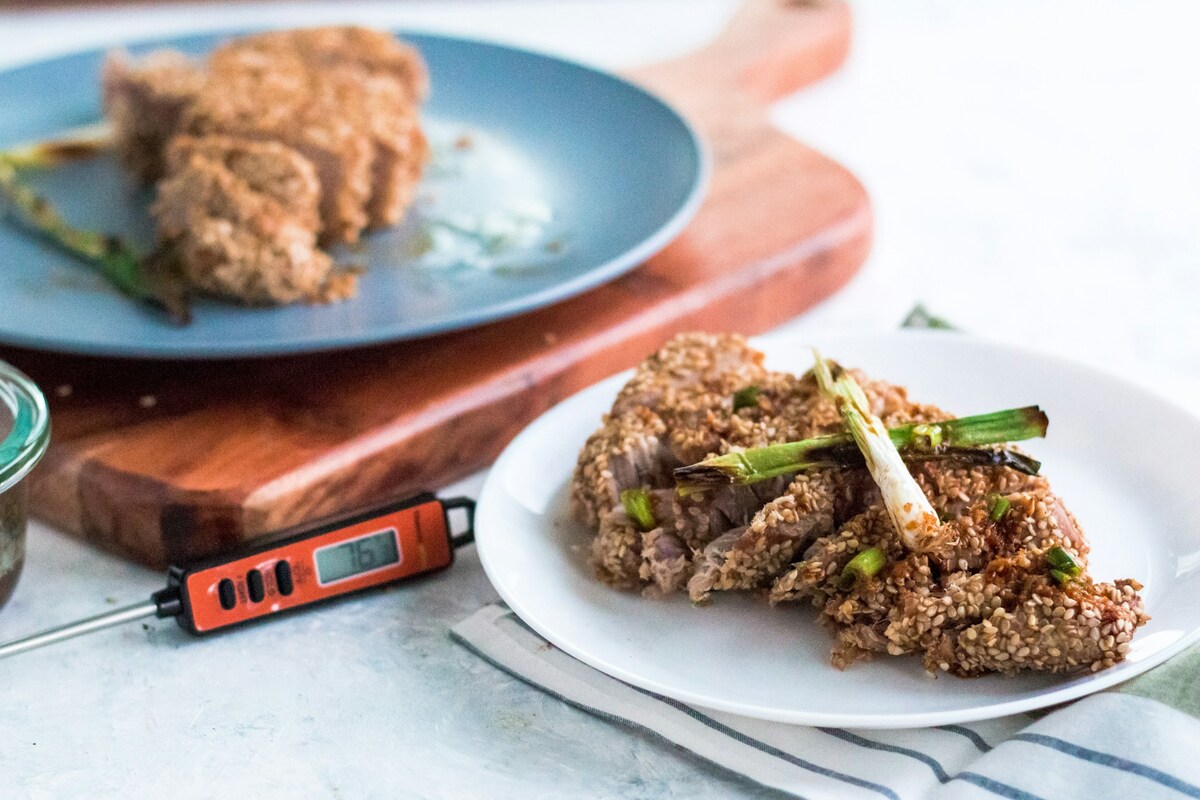
How to Use a Meat Thermometer for Roasts, Steaks, and Thick Chops
For roasts and thick cuts, insert the probe horizontally through the side of the meat, not from the top. This keeps the sensing area in the center of the thickest section for the full reading window.
USDA safe internal temperatures for common cuts: beef, pork, and lamb should reach 145°F (63°C) with a 3-minute rest. A medium-rare steak reads 130 to 135°F before resting. Let the meat rest after cooking, as the internal temperature rises 5 to 10 degrees during rest.
How to Use a Meat Thermometer for Chicken and Poultry
Poultry requires more care than red meat because undercooking carries a real food safety risk. The USDA minimum for all poultry is 165°F (74°C).
- For chicken breasts, insert the probe from the thickest end and push it toward the center.
- For a whole bird, check both the thickest part of the thigh and the thickest part of the breast.
Both must read 165°F before the bird is safe to serve. Do not rely on a single reading.
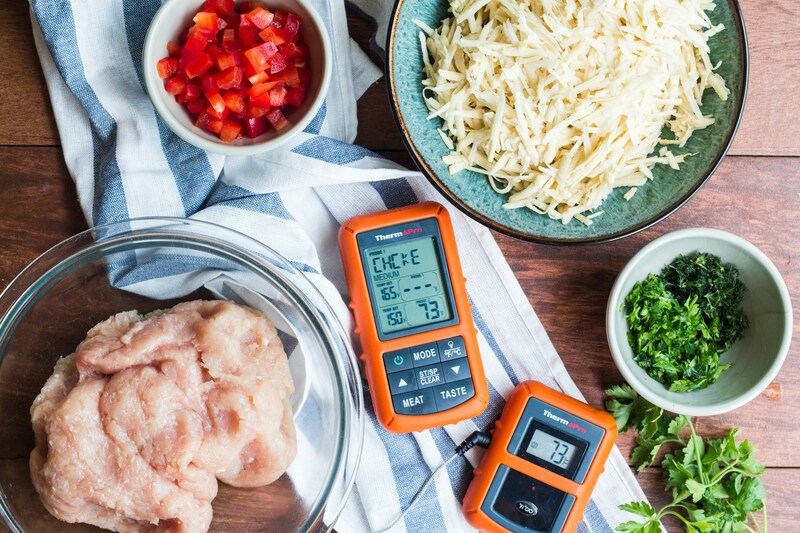
How to Use a Meat Thermometer for Ground Meat, Burgers, and Thin Cuts
Ground meat is trickier because pathogens can be mixed throughout the interior during grinding. The USDA minimum for ground beef, pork, and lamb is 160°F (71°C). For ground poultry, it is 165°F.
For burgers and thin patties, insert the probe from the side, not from the top. Push it horizontally into the center. A top-down insertion on a thin patty may go straight through without ever reading the true center temperature.
How to Use a Digital Meat Thermometer
Digital thermometers are the most common and most accurate option for home cooks. Understanding the different types and how to maintain them makes a real difference in reliability.
Instant-Read vs Leave-In Digital Thermometers: Which to Use When
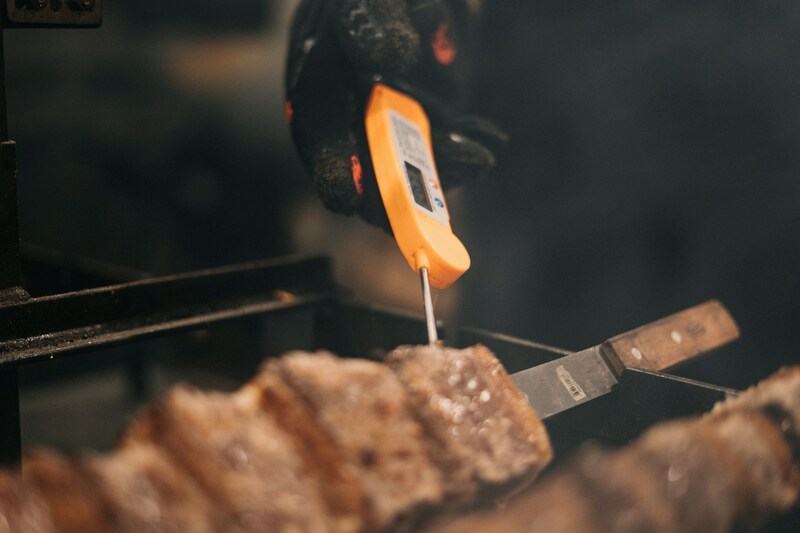
Instant-read thermometers are designed for quick checks. Insert, read, and remove. They are ideal for steaks, burgers, and any cut where you open the oven or grill briefly to check doneness.
Leave-in thermometers, sometimes called probe thermometers or oven-safe thermometers, are inserted before cooking and left in throughout. They are best for large roasts and whole poultry where opening the oven repeatedly slows cooking and causes temperature drops.
How to Calibrate a Digital Thermometer Before You Cook
Even accurate thermometers drift over time. Calibrating before an important cook takes two minutes and ensures you can trust what you read.
- Fill a glass with ice and add cold water.
- Stir and let it sit for 30 seconds.
- Insert the probe.
A properly calibrated thermometer reads 32°F (0°C). If it reads differently, adjust via the calibration button or nut on your model, or apply the offset manually when reading temperatures.
Getting the Most Accurate Reading From a Digital Thermometer
A few habits consistently improve accuracy. Insert the probe into the meat before any juices are flowing strongly.
Once cut, the surrounding liquid affects the reading. Wipe the probe clean between readings. Residue from earlier contact can influence the next reading by a few degrees.
Keep a copy of USDA safe minimum internal temperatures in your kitchen or saved on your phone. It covers every category of meat and eliminates any uncertainty about safe doneness.
>>> Read more: How to Clean Leather Couch: Real, Faux, and Natural Methods
FAQs
How to Use a Meat Thermometer to Take Your Temperature
Meat thermometers are not designed for human use. They are calibrated for cooking temperatures (up to 220°F or more) and lack the precision and hygiene standards of medical thermometers. You should use a medical-grade oral or temporal thermometer for body temperature readings.
Where Exactly Do You Put a Meat Thermometer in a Whole Chicken?
Insert the probe into the thickest part of the thigh, between the drumstick and the body, avoiding the bone. Check a second point in the thickest part of the breast. Both locations must read 165°F before the chicken is safe to serve.
Can You Leave a Meat Thermometer in the Oven While Cooking?
Only if it is designed for it. Leave-in probe thermometers are oven-safe. Instant-read thermometers are not meant to stay in a hot oven and will be damaged. Check the product label or manual before leaving any thermometer in an oven during cooking.
Why Does My Meat Thermometer Give Different Readings Each Time?
Inconsistent readings usually mean the probe is hitting different spots: bone, fat pockets, or varying depths. Insert it in the same location each time and hold it steady until the number stabilizes. Calibrate the thermometer if the issue persists.
How Do You Clean and Store a Meat Thermometer Properly?
- Wipe the probe with a food-safe sanitizing wipe or wash with hot soapy water immediately after each use.
- Do not submerge the display unit.
- Store with the probe cap on if one is included.
- Keeping the tip protected prevents bending and maintains calibration accuracy.
Final Thoughts
Knowing how to use a meat thermometer correctly comes down to three things: inserting the probe in the right location, reading it at the right depth, and knowing the safe temperature for what you are cooking. Everything else builds from those basics.
Invest two minutes before an important roast to calibrate your thermometer. Use the USDA temperature chart as your reference. And choose between instant-read and leave-in based on what you are cooking. Get those habits right and overcooked or unsafe meat becomes a problem of the past.